How to Give Mailbox Folder Rights
Permissions have to be set within an account if others are supposed to see folders in that account. This has to be done by opening the actual email account that needs to be accessed by others. For example, if you need to see the folders of a professor's account, then the professor will have to open that account with his/her own login details. Only from there can the permissions be changed.
To set permissions
- Once the email account is open, right-click first of all on the "mailbox", the root folder in the account.
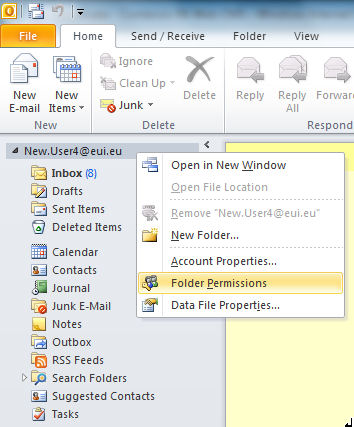
Figure 1: Root folder
- Select Folder Permissions.
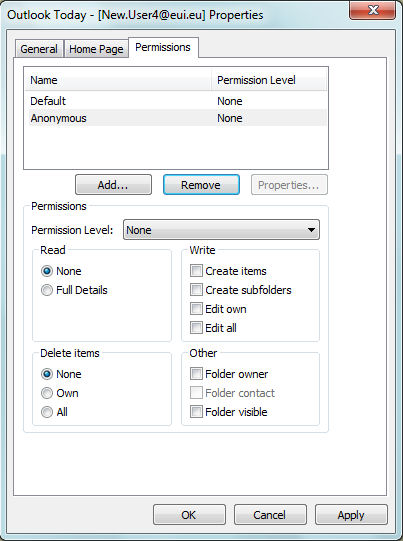
Figure 2: "Outlook Today" Permissions
- Click on Add.... This will bring up the Global Address List where you can search for the names of the people who are supposed to see the folder.
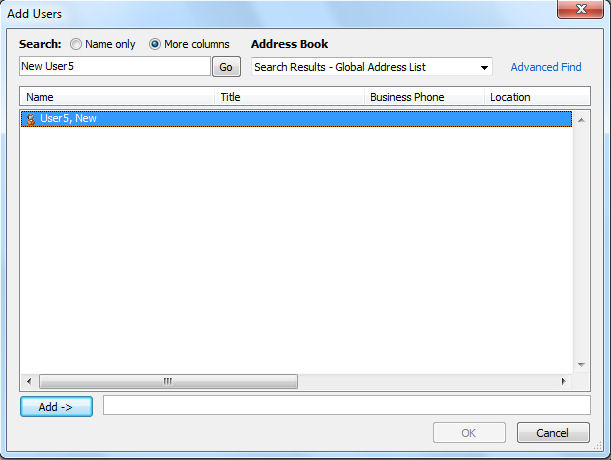
Figure 3: Search the Global Address List
- With the desired name highlighted, click Add. When you have finished adding names, click OK.
- You now have to set the permission level. Select the new name, then click on the Permission Level drop-down menu and choose "Reviewer".
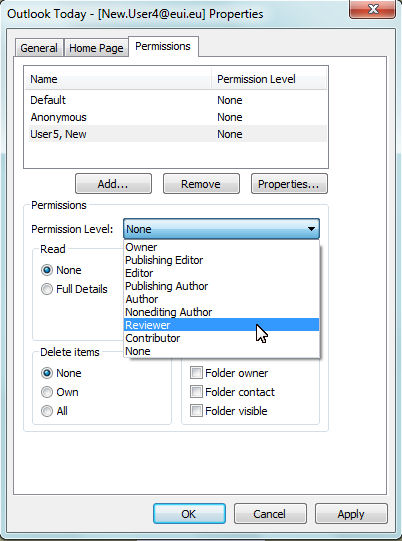
Figure 4: Permission Level
- When the permission level has been defined for all added users, click the Apply button, then OK.
- Now that access to the mailbox has been granted to the desired user(s), permissions have to be given in the same way on the specific folder(s) these users are supposed to see: for instance, the Inbox or the Calendar.
Right-click on the folder and choose Properties.
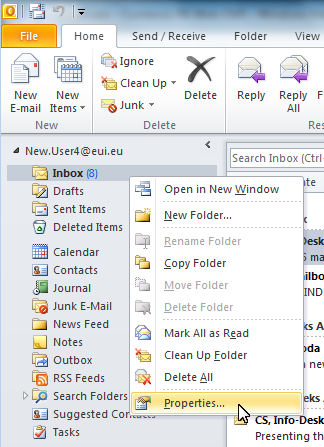
Figure 5: Properties
- Then select the Permissions tab.
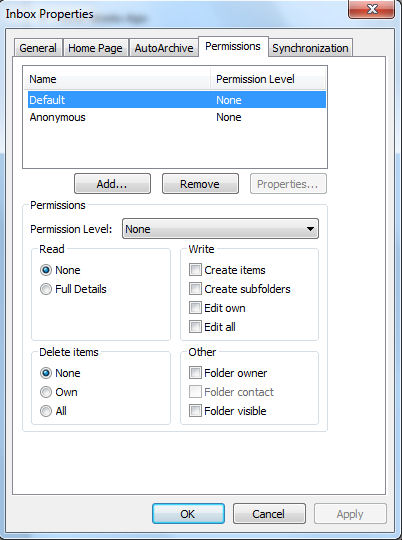
Figure 6: The Permissions tab
- Now proceed again as from step 3 above, adding the name(s) of the person or persons who are supposed to see the folder and then specifying the permssion level. If a user is going to have to do more than just read the folder contents, such as replying to messages or adding Calendar entries, then an appropriately higher permission level, such as "Author", will need to be granted. Consider carefully the actions allowed at the different levels and do not give more rights than are necessary for what a user is supposed to do.
- When the proper level has been defined for all added users, click the Apply button, then OK.
The person(s) added will now be able to see the desired folder within their own Outlook profile. You will need to do this on every folder you wish to make seen.
Note: the above steps have to be followed individually for each subfolder that needs to be viewed, as the permissions are not handed down from the main folder to already existing subfolders.
Page last updated on 20 August 2017