It is possible that for your work you will need to see other people's or projects' mailboxes. This is quite simple to implement, however you will need permissions from whomever "owns" the other account to actually see the requested folders.
To add a mailbox within Outlook
- Choose the File tab and click the Account Settings button. From the drop-down menu choose Account Settings....
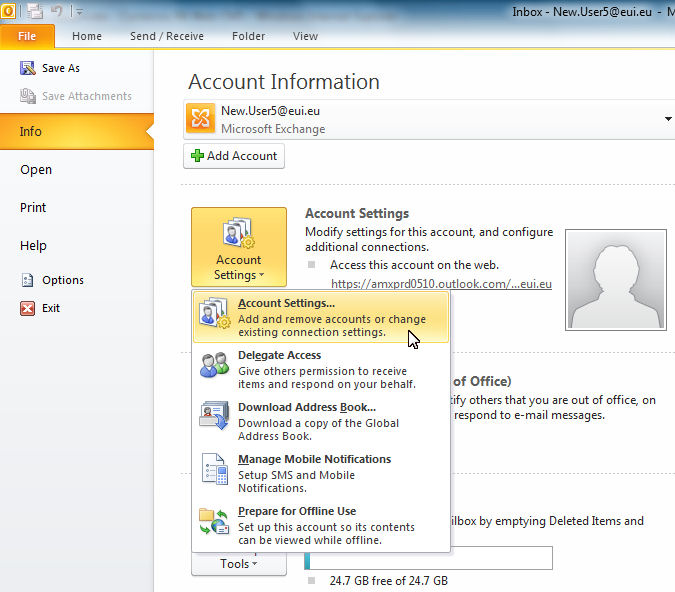
Figure 1: Account Information
- Highlight the account and click Change....
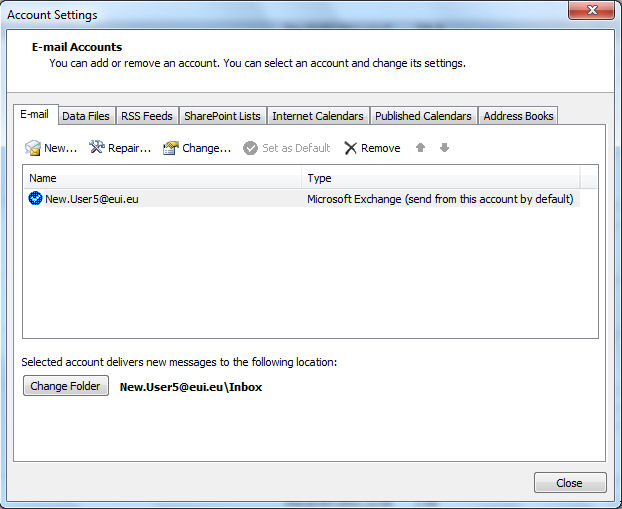
Figure 2: Account Settings
- Click on More Settings ....

Figure 3: Change Account
- Choose the Advanced tab.
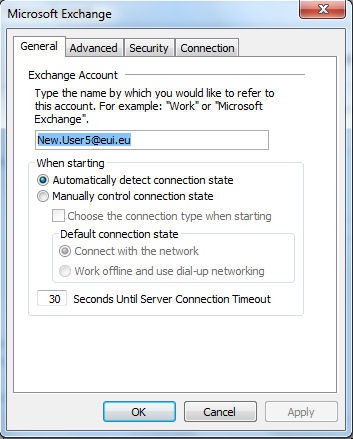
Figure 4: More Settings
- Click the Add... button.
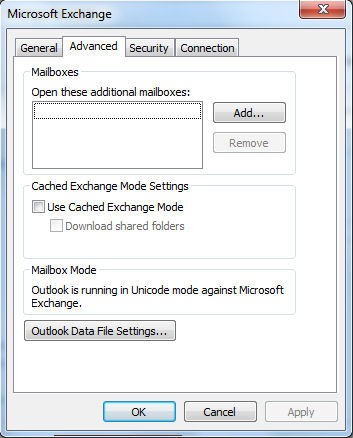
Figure 5: The Advanced tab
- You will then need to type in the name of the account that you wish to have access to.
Figure 6: Add Mailbox
If you do not know the exact name, type in the first few letters and click OK. You will receive a list of the accounts that begin with those letters (just like the Global Address List). Click on the account you wish to see.
The name of the account you added will now be shown in the Advanced tab under "Open these additional mailboxes:". Click Apply, then OK, Next, Finish, and Close to return to your Inbox.
You should now be able to see the account in your Outlook Folder List. Click on the folder and it should open if you have the right permissions. If you do not, you will receive a message saying that Outlook is unable to display the folder.
Page last updated on 20 August 2017