How to Create Signatures in Outlook for Mac
The documentation below will guide you through setting up a signature for your outgoing mail in Outlook 2011 for Mac.
Please Note: in order to harmonize internal and external communications, your signature should adhere to the specific guidelines related to the use and the format of signatures laid down by the Communications Service.
From within Outlook:
- Navigate to Outlook > Preferences... and then click on Signatures:
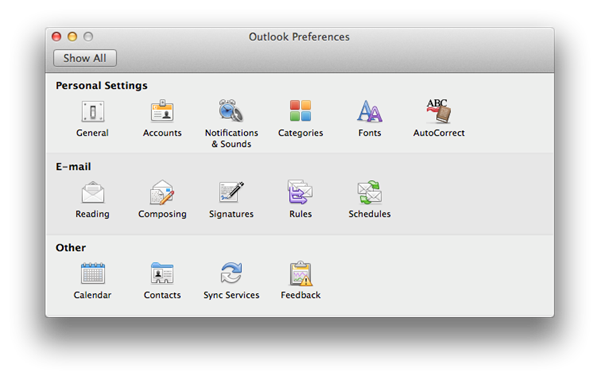
Figure 1: Outlook Preferences
- The Signatures pane will open up with the list of available signatures:
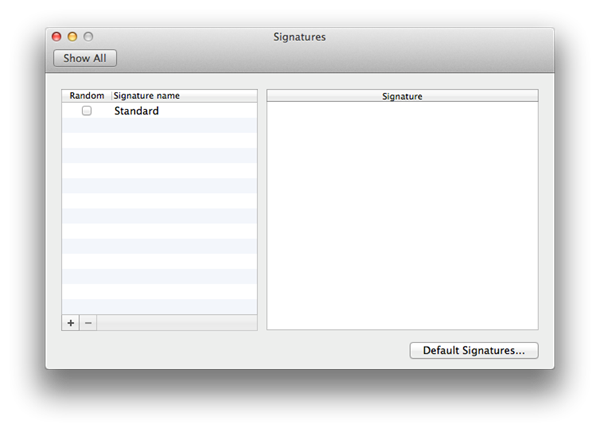
Figure 2: Signatures pane
- Click on the + (plus) button to create a new signature (it will be called Untitles) then double-click on it in order to give it an appropriate name (e.g. EUI):
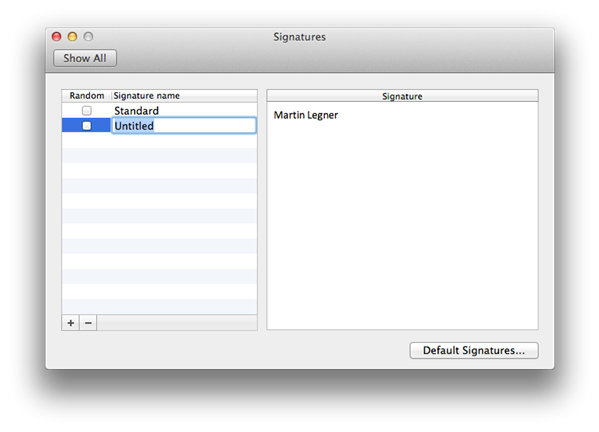
Figure 3: Naming the signature
-
With your new signature selected in the left box, create your signature in the right section:
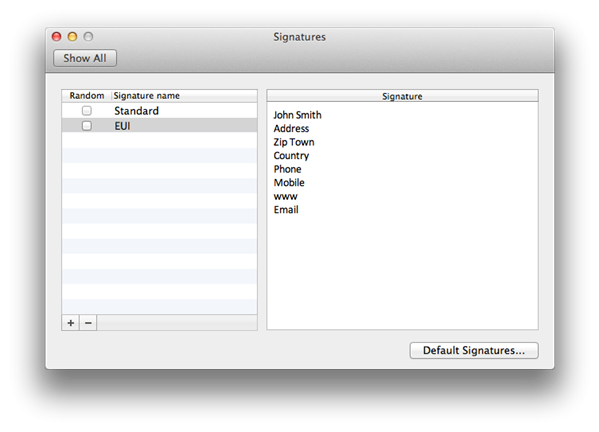
Figure 4: Editing the signature
- Be sure NOT to check the Random box next to the signature then click on Default Signatures...;
- Select the Account(s) for which to use the signature then pick the newly created signature from the dropdown list on the right under Default Signature:
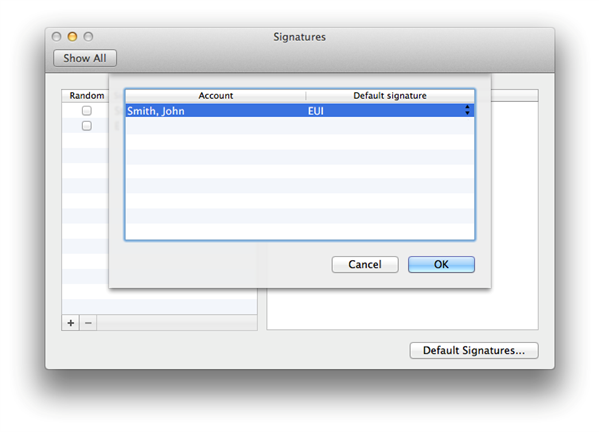
Figure 5: Assigning signature to account(s)
- Click OK to confirm then close the Signature pane to go back to Outlook.
Page last updated on 20 August 2017