Mapping Network Printer in Mac OS X
This information is for EUI members who want to print from their laptops (both EUI ones or privately-owned) on a public MultiFunction Printer.
It may be used as well on EUI desktop computers to connect to a specific Departmental and/or Service printer [1], provided you know its name beforehand.
The procedure has been tested working on macOS 11 (Big Sur) and macOS 12 (Monterrey). Screenshots are taken from Big Sur, thus may slightly differ from other versions. Older OS X versions should still be able to print, although we recommend to use the latest version available for your device.
-
Open System Preferences and select Print & Scan:
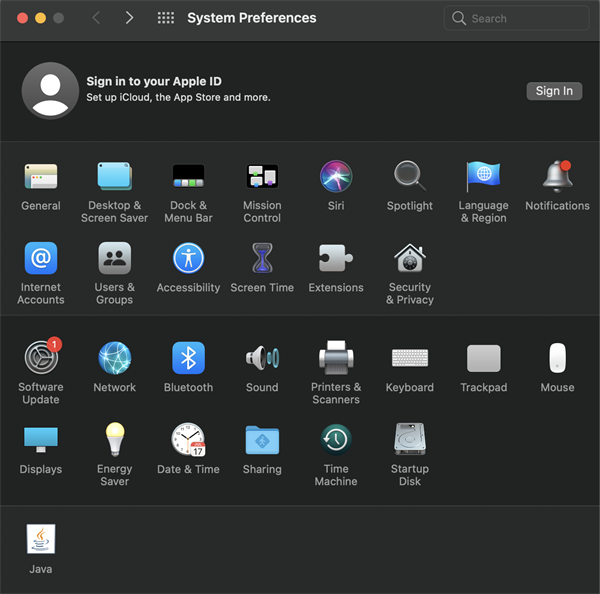
Figure 1. System Preferences
-
If the panel is locked, make sure to unlock it to allow changes;
-
Click the + symbol to add a printer:
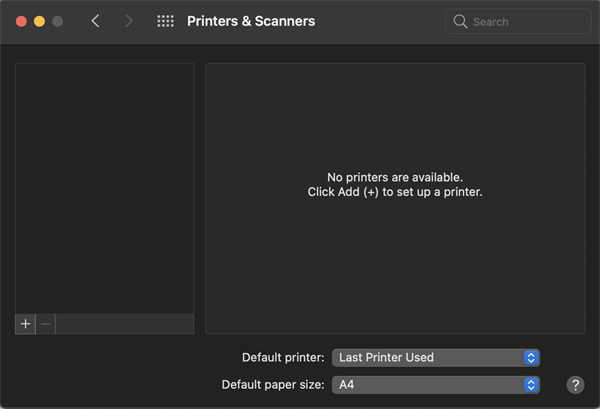
Figure 2. Print & Scan preferences
-
The Add Printer window will open up: if the Advanced icon is already available on the toolbar, proceed to step 7):
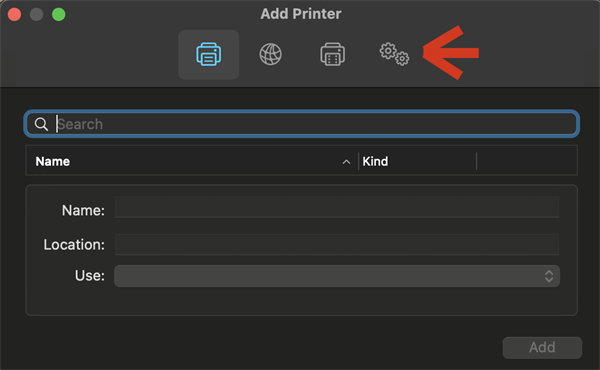
Figure 3. Add Printer with Advanced button already available
-
Move the cursor to a place on the toolbar without an icon, then right-click (or click while holding alt/option key) and choose Customize Toolbar...:
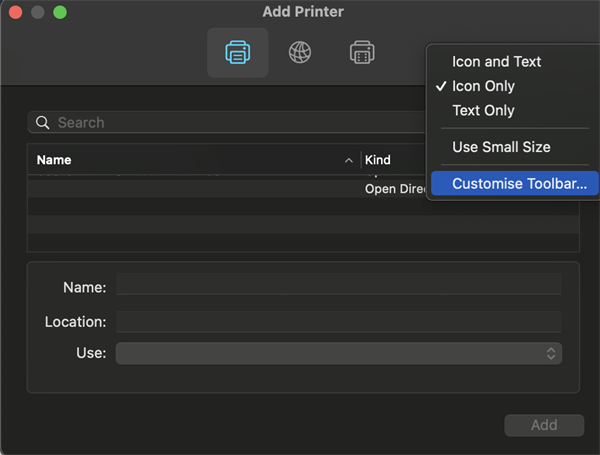
Figure 4. Customise toolbar
-
Drag and drop the Advanced icon onto the toolbar:
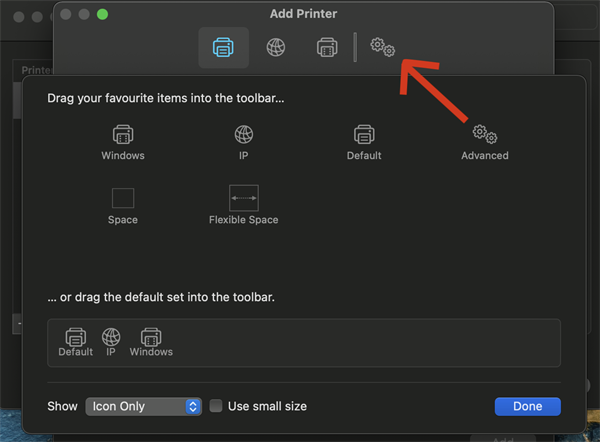
Figure 5. Adding Advanced button
-
Click on the Advanced button;
-
Fill in the information as follows:
Type = Windows printer via spoolss
Device = Another Device
URL: = smb://printserver/NetworkPrinter [2] (tip: copy and paste the text)
Name = EUI Network Printer (or any other meaningful name)
Location = EUI
-
In the Print Using, pick Select Printer Software...:

Figure 6. Print Using...
-
Select RICOH IM C4510 PS from the list and click OK:
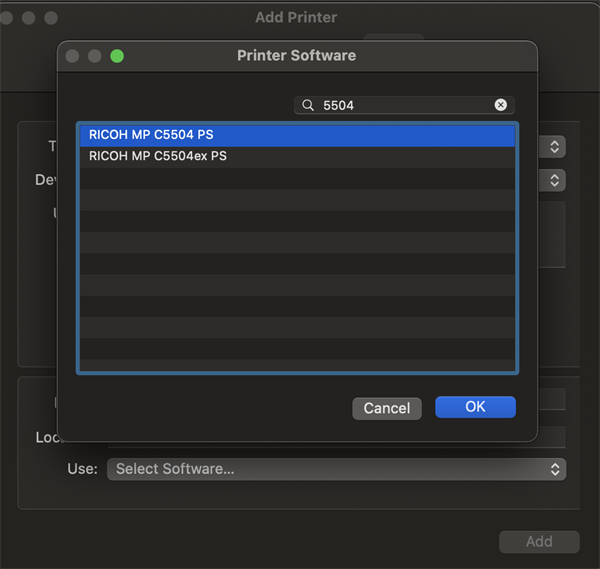
Figure 7. Selecting correct printer driver
- Click Add to continue;
- In the Finisher field, select Finisher SR3320, leave all others settings unchanged then click OK to finish:
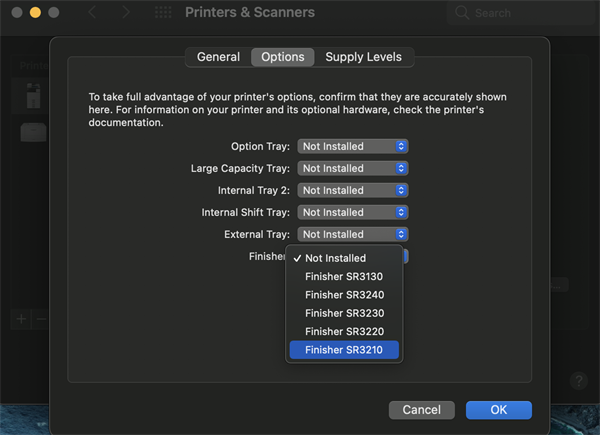
Figure 8. Selecting correct finisher
You now have successfully configured your Mac to print to EUI's public multifunction network printers.
- Send a print task (command + P) from any application;
- You will be required to authenticate on EUI's printserver. Fill in your credentials as follows:
Connect as: = Registered User
Name: iuedom\your_EUI_username (NOT your Mac's username, e.g. jsmith)
Password: your_EUI_password
Please Note: it is strongly suggested NOT to tick Remember this password in my keychain as this may cause trouble whenever you change your EUI password!

Figure 9. Authenticating on the printserver
- you can check the status of your printjob by clicking on the jumping Print Queue icon:

Figure 10. Print Queue
Please Note: be sure to read the Known Issues in case you get a "on hold (authentication required)" error message after changing your password!
For any further assistance with the above procedure, please contact Portable Device Support.
For any printing problem or queries (including paper jams, printing quota and Printing rights), please contact PrintSupport via EUI Helpdesk.
= Please make sure you already have rights to access a specific Departmerntal or Service printer BEFORE you attempt installing it. You may ask your unit's coordinator to gain access to such printers.
= Or smb//:printserver/printer_name where printer_name = name of the Departmental or Service printer you want to print to.
Page last updated on 17 August 2017