How to Resize the Fonts for all Folders and Mailboxes
If you are experiencing problems reading the default fonts set by Outlook, then you can change the type and size of the fonts and apply them to particular folders.
From within Outlook:
Click on View > Current View > Define Views...
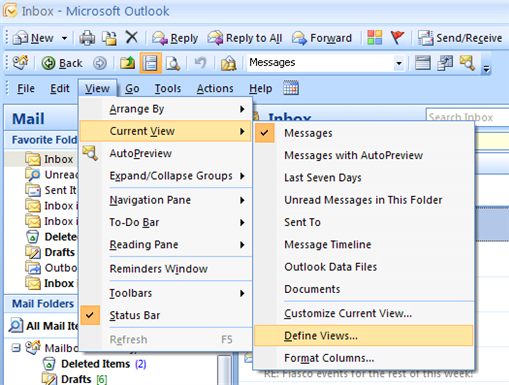
You will then be presented with a dialogue box that looks like the one below.
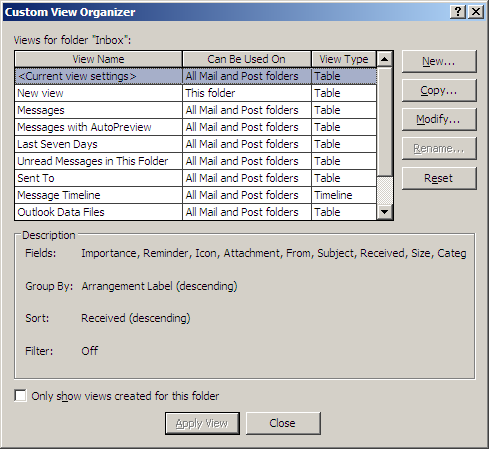
Click on New....
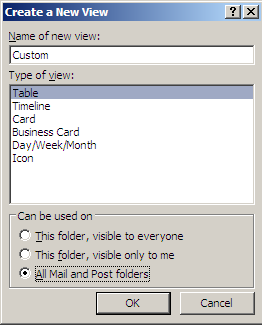
Give this new view an appropriate name and select the option All Mail and Post folders.
Click OK.
You will be presented with this dialogue box:
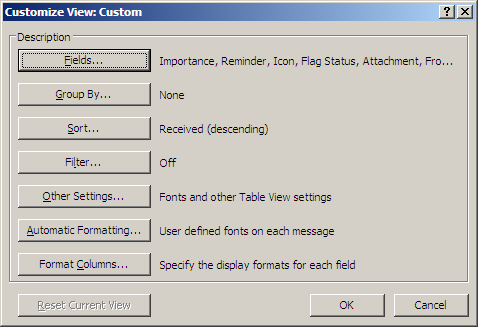
Click on Other Settings....
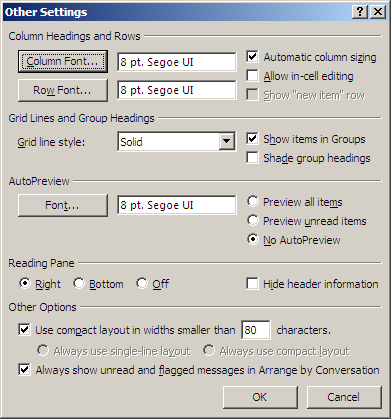
Here is where you can change the preferences as to what size and type of font you want for headings, rows, etc. Once you have changed them, click on OK.
Now if you go back to the Outlook interface and navigate to View > Current View, you will see an option having the name you specified earlier that you can click on to make Outlook display the current folder according to the view you defined.
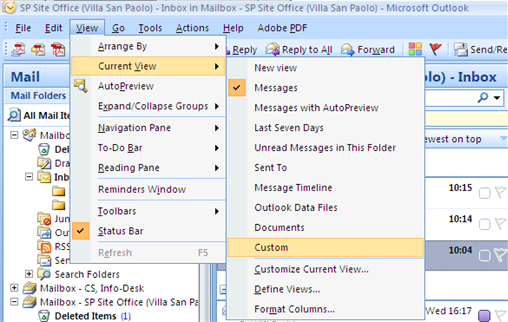
(In this example Custom is the new set of predefined options we created.)
The only drawback is that you have to do this on every single folder within Outlook because there is no way to apply a customised view to all folders at once.
Page last updated on 20 August 2017