Making the 'From' Field Visible, and Directing Replies to an Alternative Address
Inserting the 'From' field
When you have the right to send on behalf of another account, you will often need to put that account's name in the From... field of messages you write.
If you do not have the From field available in the header of your new message window, all you have to do is:
Open a new Message, select the Options tab, then click Show From.

Click on From Field.
You should now be able to see the From field in your message window [1].
Here type the name of the account on whose behalf you wish to send.
If everything has been done correctly, then your e-mail will be received by its addressee showing that it was sent by you on behalf of the other account.
Having replies sent to a different address
It is also possible to set an option whereby replies to a message you send from one e-mail account are automatically addressed to another account. This can be useful, for instance, if you send a message to a distribution list and you want replies to be directed to a different address, maybe a colleague's or an impersonal mailbox—regardless of whether or not you have rights to send on behalf of that other account—, or if you have more than one e-mail address and are sending from one but want replies to go to another.
To activate this:
First start a new message or open an existing draft.
In the message tab, locate and press the following button:

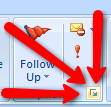
You will then be presented with a dialogue box like the one below:
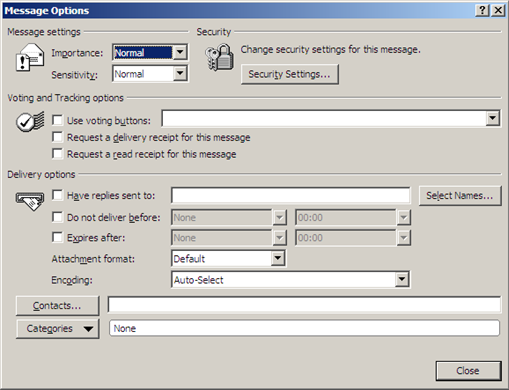
You have several different options here.
To direct replies to another address
Select the option Have replies sent to: (under the sub-heading Delivery options).
Then type in the e-mail address you want the replies to go to or click Select Names... to bring up the EUI Global Address List.
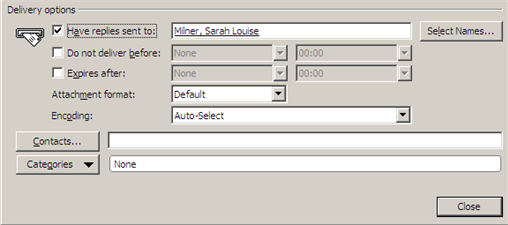
Click on Close.
Now send your e-mail as you normally would. All replies (initiated when the recipient clicks on the Reply button) will go to the address you specified.
[1] As you will note, it is also possible to make the Bcc ("Blind carbon copy") field visible in the same way.
Page last updated on 20 August 2017