How to Publish an Outlook Calendar as an Internet Calendar
This document will guide you step-by-step into sharing your Outlook Calendar by "publishing" it as an Internet Calendar.
Please Note: before publishing your Outlook Calendar, be sure you know the differences between Calendar Publishing and Calendar Sharing in order to choose the method which suits you best!
- you must be connected to the internet;
- you will need to have access to Outlook for Windows [1] ;
- you must have direct access to the Calendar (mailbox) you want to publish [2] ;
-
Open Outlook and, if need be, choose the profile of the mailbox whose Calendar you want to publish.
Please Note: if you do not have the profile ready yet, create it first by gollowing this link: How to Create a New Profile .
-
Change to Calendar view by clicking on the appropriate icon (or CTRL + 2 on the keyboard):
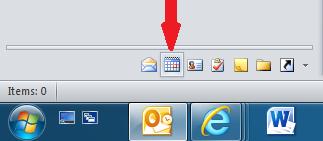
Figure 1: change to Calendar view
-
Right-click on the Calendar, then choose Share > Publish This calendar... :
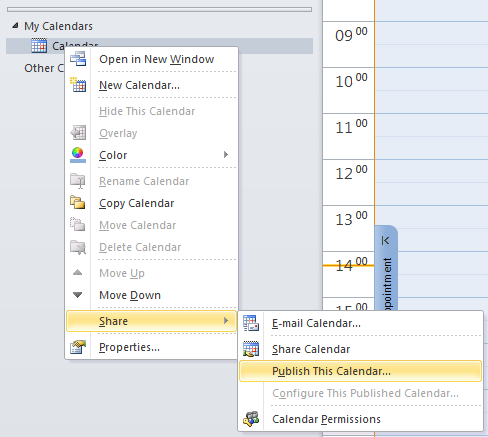
Figure 2: Publish This Calendar dropdown
-
Webmail (OWA) will open in your default browser (please note you may need to login into the account you want to publish) giving you the possibility to choose the settings which best suit your needs:
- Select a calendar: lets you specify whihc calenatr to publsih (should you have more than one).
- Select permissions: lets you specify the level of details published: Not shared is equivalent to not publishing the calendar; Availability only is equivalent to showing only Free/Busy times; Limited details is equivalent to showing Subjects whereas Full details is equivalent to showing Location and Description as well.
-
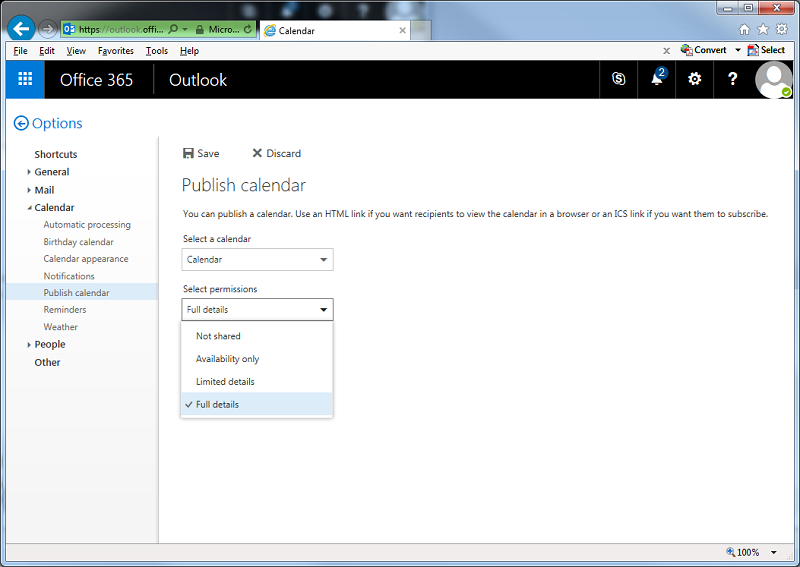 Figure 3: Choosing appropriate Calendar options
-
Once you've made you choices, click on "Save": you will now be shown two links:
- The first link (HTML) is for viewing the calendar in a web browser.
- The second link (ICS) is the one you need to distribute to people so they can Subscribe to the calendar on their preferred platform;
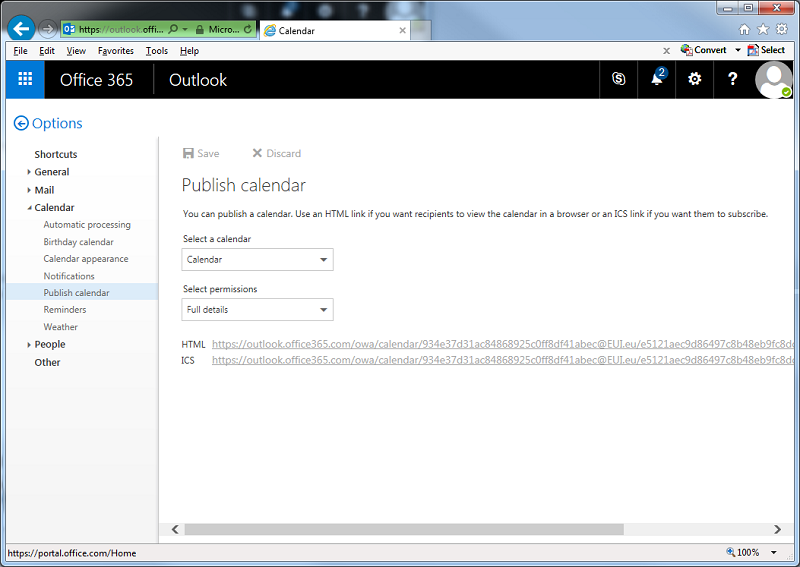 Figure 4: Finalising Calendar publication
The calendar is now published and you can start sharing the links provided in step 5. (e.g. by publishing them on the web or sending them out by email). You may want as well to provide your recipents with the link to our step-by-step Subscribe to an Internet Calendar guide.
- If at a later time you want to stop publishing (that is, unpublish) the Calendar, repeat steps 1. to 4 first, making sure to select Not shared in the Select permissions field;
- Once done, click on "Save" to confirm.
= Outlook is installed by default on all standard Windows-based desktop PCs loaded with the so-called Staff Configuration . If you don't have Outlook you may contact your local ICT User Support Office for help.
= that is, you must know username (email adress) and password of the mailbox hosting the Outlook Calendar.
Page last updated on 20 August 2017